 Last year, the tandem began making a really annoying noise: a click, or a series of clicks, or a groan interspersed by clicks. I knew the drivetrain was responsible. So I pulled both bottom brackets, changed the bearings, checked the torque on the arms, on the chainring bolts–nothing.
After I replaced the front and rear cranks, I realized the culprit was the stoker’s suspension seatpost, a Cane Creek Thudbuster ST. The issue: normal bushing wear.
That’s a lot of money involved in misdiagnosis, though it did get me 165mm crank arms front and back and good old-fashioned square-tapered bottom-bracket spindles. (Thank you, da Vinci Designs.)
 I got on Cane Creek’s website and ordered a rebuild kit–eight washers, eight bushings, four bolts–and a bushing replacement tool. I also ordered a new elastomer. The parts were shipped promptly, and the instructions were clear.
The Thudbuster is a simple and strong design. Just like a derailleur, it’s based on a parallelogram, and it’s been on our tandem eight years.
(In years past, we’ve had two sliding-post seatposts break while we were on the road–luckily without injury to the rider. Unless today’s sliding-post designs are completely different, I say if you have one, don’t mess around with your safety: replace it with either a non-suspension seatpost or a Thudbuster.)
I followed the instructions, removing four bolts with a 3mm Allen wrench, and pulling off four linking arms and eight thin brass washers by hand. Instead of a spring, the Thudbuster uses a chunk of elastomer to absorb shock.
 The inside edges of the four arms form a pocket that holds the elastomer in place. Once the arms are removed, the elastomer falls away.
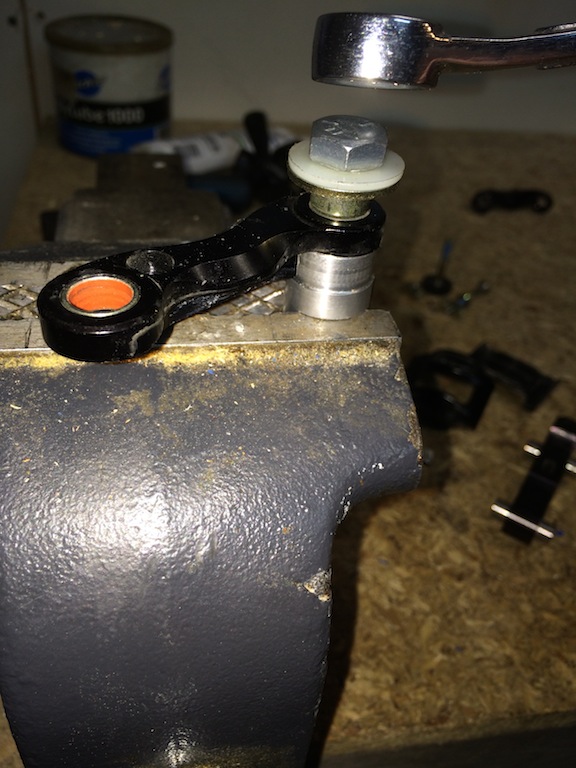
 Cane Creek’s bushing replacement tool uses the new bushing to push the old bushing out of place. There’s no fiddly alignment necessary–just load the new bushing, install the tool and tighten it until you can’t. The old bushing drops into the tool’s base. I replaced eight bushings in less than five minutes.
Then I lubricated the pivots, installed new washers, slid the arms and elastomer into place, and secured the assembly with four new bolts.
And there you go–new seatpost performance at a fraction of the new seatpost cost.
As long as you don’t count the price of a new tandem crankset.

Here’s a pretty good rundown on a pre-build to toughen up the bearing structure on a Thudbuster – really good article and some commentary on adjustment/build quality/ the lack of factory lubrication in the moving parts.
http://www.bikeforums.net/showthread.php/825977-Thudbuster-Upgrade-Options-You-Can-Do-Yourself-This-One-s-Bulletproof-As-Possible!
Thanks for the link. Seems like there’s always somebody out there working on the advanced course.
I think the biggest takeaway is adding lubrication to a new unit. While my post went years before the rebuild, a little care from the start might have significantly increased service life before overhaul. Everyone’s riding is a bit different, but I wonder what kind of life other people are getting out of their Thudbusters.